How to Finish a Polymer80 Frame
How to Finish a Polymer80 Frame
You’ve got the raw Polymer80 frame in your hands. The jig is there, the rails are ready, and the drill bits are lined up. This is where the build starts. Finishing the frame isn’t just about making holes; it’s the foundational step that determines the fit, function, and reliability of your entire pistol. Get this right, and the rest of the assembly is a straightforward process. Get it wrong, and you’ll be chasing tolerance issues for weeks. Let’s walk through the correct procedure, step by step.
Step 1: Gather Your Tools and Prep the Jig
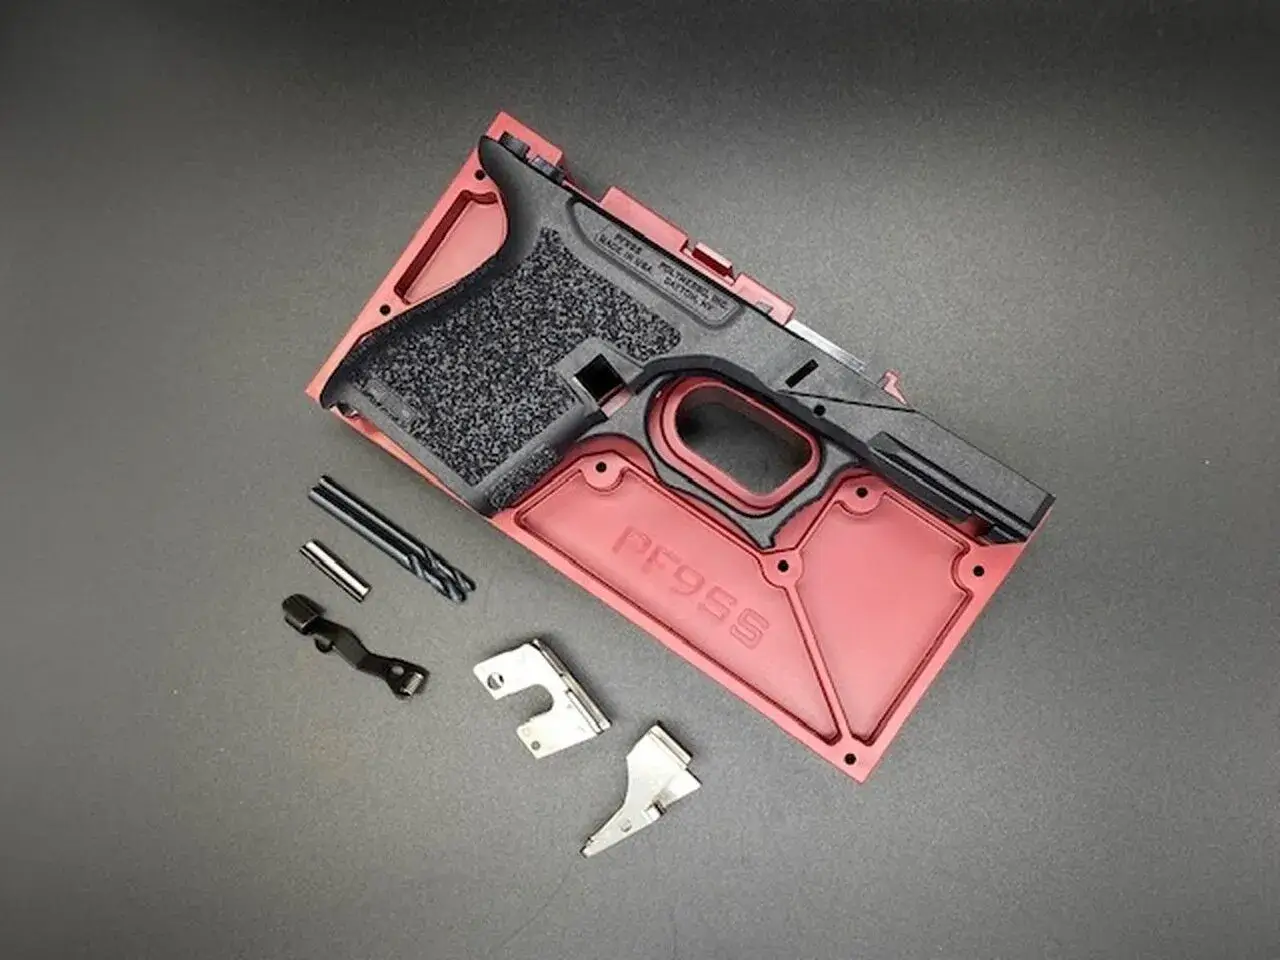
Before you touch the frame, lay out everything you need. You must use the specific jig that came with your frame model—a PF940v2 jig is not compatible with a PF9SS. You’ll need a hand drill or a quality drill press, the provided 3mm and 4mm drill bits, a set of quality end mills or a dedicated P80 frame finishing kit, and a sharp utility knife or flush cutters. Clamp the jig halves securely around the frame, ensuring all pins are seated and the serialized rear rail section is correctly positioned. A wobbly jig is the number one cause of misaligned pin holes. Take the extra minute to get this solid.
Proper jig setup is non-negotiable for a clean finish.
Step 2: Drilling the Pin Holes (The Critical Step)
This is where precision matters. Using your hand drill, start with the 3mm bit for the trigger pin and locking block pin holes. Drill straight down through the top of the jig, applying steady, moderate pressure. Do not force it or wobble the drill. Let the bit do the work. Clear polymer shavings frequently. Flip the jig and repeat for the bottom holes. Next, switch to the 4mm bit for the larger rear rail module pin holes. The key here is perpendicularity. If your holes aren’t straight, your pins won’t go in smoothly and your rails won’t align. If you have a drill press, use it. This step alone is why many builders choose to source their frames and kits from a specialist like Polymer80Builds, where you know you’re getting the correct, manufacturer-supplied components.
Step 3: Removing the Polymer Tabs (Milling the Recoil Spring Channel)
With the pin holes drilled, remove the frame from the jig. Now you’ll address the three polymer tabs in the frame’s receiver area. Using your end mill or the milling tool from a finishing kit, carefully and slowly remove the tab material. Work in passes, don’t try to hog it all out at once. The goal is a flush, smooth surface with the frame’s interior walls. Next, and this is crucial, you must fully clear the recoil spring channel in the front of the frame. This channel must be deep and clean enough for the recoil spring assembly to travel freely without any binding. Incomplete milling here is a primary cause of failure to cycle. Use your end mill and files to achieve a smooth, unobstructed path.
A proper tool kit makes tab removal and channel cleaning precise. Browse our tools and jigs.
Step 4: Final Fitting, Sanding, and Assembly
After milling, test-fit your front locking block and rear rail module. They should drop into their respective slots with minimal persuasion. Insert the corresponding pins by hand. They should slide through the rails and frame holes with firm finger pressure—if you need a hammer, something is misaligned. Address any tight spots with a fine round file, taking off minuscule amounts of polymer at a time. Once the rails are fitted, deburr all the holes and milled areas with 400-grit sandpaper or a fine sanding drum. The frame should feel smooth with no sharp edges. You are now ready to install the rest of your lower parts kit. The frame is finished.
Avoiding Common Pitfalls
The most frequent mistakes are rushing and using the wrong tools. Using dull drill bits causes wandering and oversized holes. Not securing the jig leads to “walked” holes that don’t line up. The most catastrophic error is under-milling the recoil spring channel, which will cause immediate malfunctions. Another is forcing parts together; if your slide stop lever spring is a battle to install, you likely have polymer debris in the channel. Go slow, test fit constantly, and remember that material removed cannot be put back. For builders who want to ensure they have the right frame and compatible parts from the start, Polymer80Builds offers complete kits and detailed model-specific guidance to avoid these hassles.
FAQ: Finishing a Polymer80 Frame
How to finish a polymer 80 frame?
Finishing a Polymer80 frame involves drilling the three pin holes using the supplied jig and bits, then removing the three polymer tabs and thoroughly clearing the recoil spring channel with milling tools. Finally, you test-fit the rails and pins, making minor adjustments with files for a smooth fit. The process requires precision with basic tools.
How to complete polymer 80 frame?
Completing the frame is the first half of the build. After finishing the frame as described, you install a lower parts kit (LPK) which includes the trigger, pins, slide lock, and magazine release. Once the LPK is installed, the completed frame is ready to be paired with a slide assembly, barrel, and recoil spring to form a functional pistol.
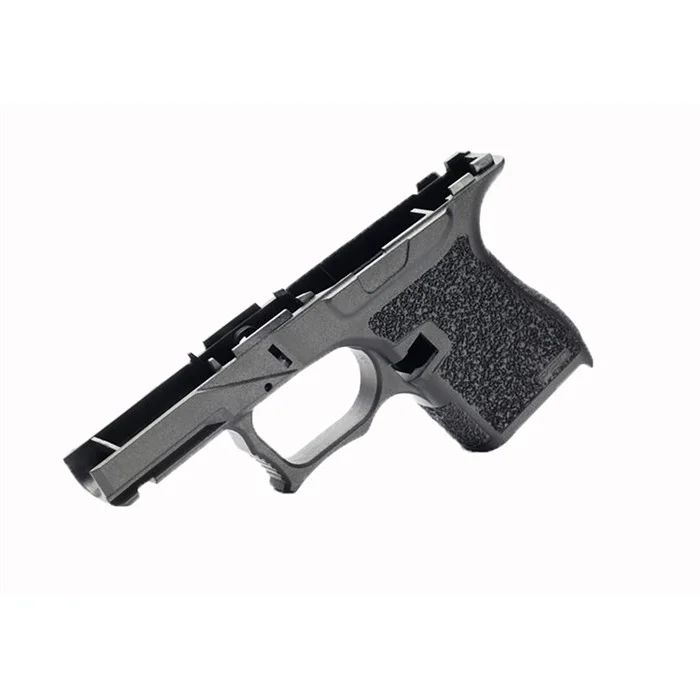
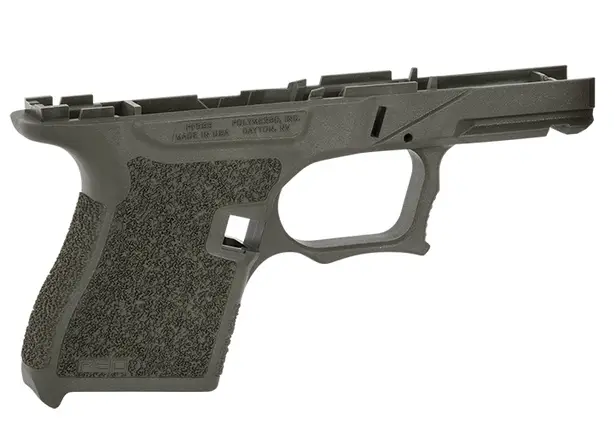
A Polymer80 frame is an unfinished firearm receiver, often called an “80% frame,” made from high-strength polymer. It requires the user to complete minor machining (drilling and milling) to make it functional. It is not considered a firearm under federal law until it is finished, allowing it to be sold directly to consumers without an FFL transfer in most states.
Browse our polymer80 frames collection
Last updated: April 05, 2026